How can you copy a dress? How can you make a pattern from your favorite fashion? If you have ever loved a vintage dress and wanted to sew another, then knowing some basic techniques for copying garments would be helpful.
This tutorial will show you how I made a pattern from this vintage mid-1950's cotton dress. I chose a very simple style, one with short kimono style sleeves that are cut in one with the bodice. I also used a style with only one simple bodice dart in both front and back.

The details in this bodice are a simple wing collar with sleeve cuff to match. There is a button front as well.

The back view is 'clean', without details, showing a one piece construction with darts to make the fit.
As you follow these photos, you may want to 'click' on the image to see an enlarged version, as some details are small.
tools and materials:
Cork Board: I use a large old bulletin board
Paper: I use plain white butcher paper, because that is easy to find. Using the BACK side of old gift wrap in a wide width can work as well. If you have access to pattern 'dot' paper, then that is best. But I will show you how to work without that grid.
Ruler: A 12" or 18" ruler and a yard stick
Pins: I prefer pearl head pins because they are easy to use and see.
Pattern Wheel: This is ideal, but I will also show you how to use a pin to create marks if you don't have this tool.
Pencil: sharp
Dress: Pressed and smooth
TERMS: I will use the following terms
Grainline and On Grain: this is the 'up and down' direction that follows the yarns (warp) that would have been tied to the loom. It is a perfect vertical line.
Cross Grain: This is the 'side to side' yarn direction, that follows the yarns (weft or fill) that would have been woven across the loom. It is a perfect horizontal line that is exactly perpendicular to the Grainline.
Bias: This is a perfect diagonal line (45 degrees) created when the vertical grainline and horizontal cross grain line are folded together. This is the same line that is created when a bandana is folded to create a triangle. This diagonal has stretch properities.
Selvage: This is the fabric edge. Traditionally it is woven when the cross grain yarns (weft or fill) turn and weave back across the fabric. More modern wide with textiles may have a 'fringey' selvage.
Center front (CF): This is the front line of a garment. It can be found when the sides of the garment are evenly matched together, creating a fold (center front fold). In most garments, this is on grain and oriented perfectly vertical on the textile.
Center back (CB): This is the perfect back line of a garment and is determined the same way as center front.

This project will begin with the back view because it is the least complex.

Step 1:
Find the center back line on the bodice
Work from the inside of the garment, match up the dart seams, side seams and neckline, pinning those together. This will produce a center back fold. You may press this flat
Step 2:
Draft the center back line on paper
Lay a length of paper about 18" long on your cork board, pin the corners down.
Use your ruler to draw a sharp line that is about 18" long with at least 15" of paper width on one side. I turn the board sideways, and will work that way in the photos.

Step 3:
Align the center back line
Lay your back bodice that is pinned so that the center back fold is exactly on the drafted line. Here I use my ruler to guide me. I then pin the fabric from waist to neckline on this fold.
Run the pattern wheel down the edge of your CB fold.
Run the pattern wheel along the waistline and neckline as far as you can without getting into any pulled areas.
Alternative method: using a long pin (corsage pin works well), run a length of 'stab' punches down the fold line. I just 'hop' the pin down the line, creating a length of pin dots.
 NOTE:
NOTE: When I pin, I use a technique where two pins are in a "V" position. This helps to keep them fixed in place and not pull out.

Step 3:
Draft the Dart: In this photo you can see how the dart tip is also pinned down. It is important to keep the grain of the fabric straight. The yarns should stay in a perfect 'grid' orientation, and not be stretched towards a bias or diagonal.
Run the pattern wheel up the dart seam line from waistline seam to the point. Accent that point with a cross mark to create a bulls eye "T".
Step 4:
Bodice side and shoulder seams: It may be necessary to remove the CB pins as you smooth the garment towards the side seams. Smooth a perfect horizontal out from the point of bust and pin that point.
SUGGESTION: Work out from the dart's point to smooth out the fabric towards each seam line. Think of this like the center of a clock with the hands radiation outwards. This will maintain the dart's position, and the fabric grainline more easily.
You will need to release the dart pins that are in place from the waistline to the point
below the dart point. As you smooth the fabric, the dart should pivot a bit away from that original location. This is forming the dart's tuck of excess fabric.

Pin out the remaining waistline seam, side seams, neckline, shoulder and sleeve.

 Edges:
 Run the tracing wheel to mark those edges. You may need to release some pins that are pulling the shape in order to get the sleeve and neckline shape. Just take care to
- work flat and smooth
- keep the fabric on grain, don't stretch it on the bias or make it 'crooked'.

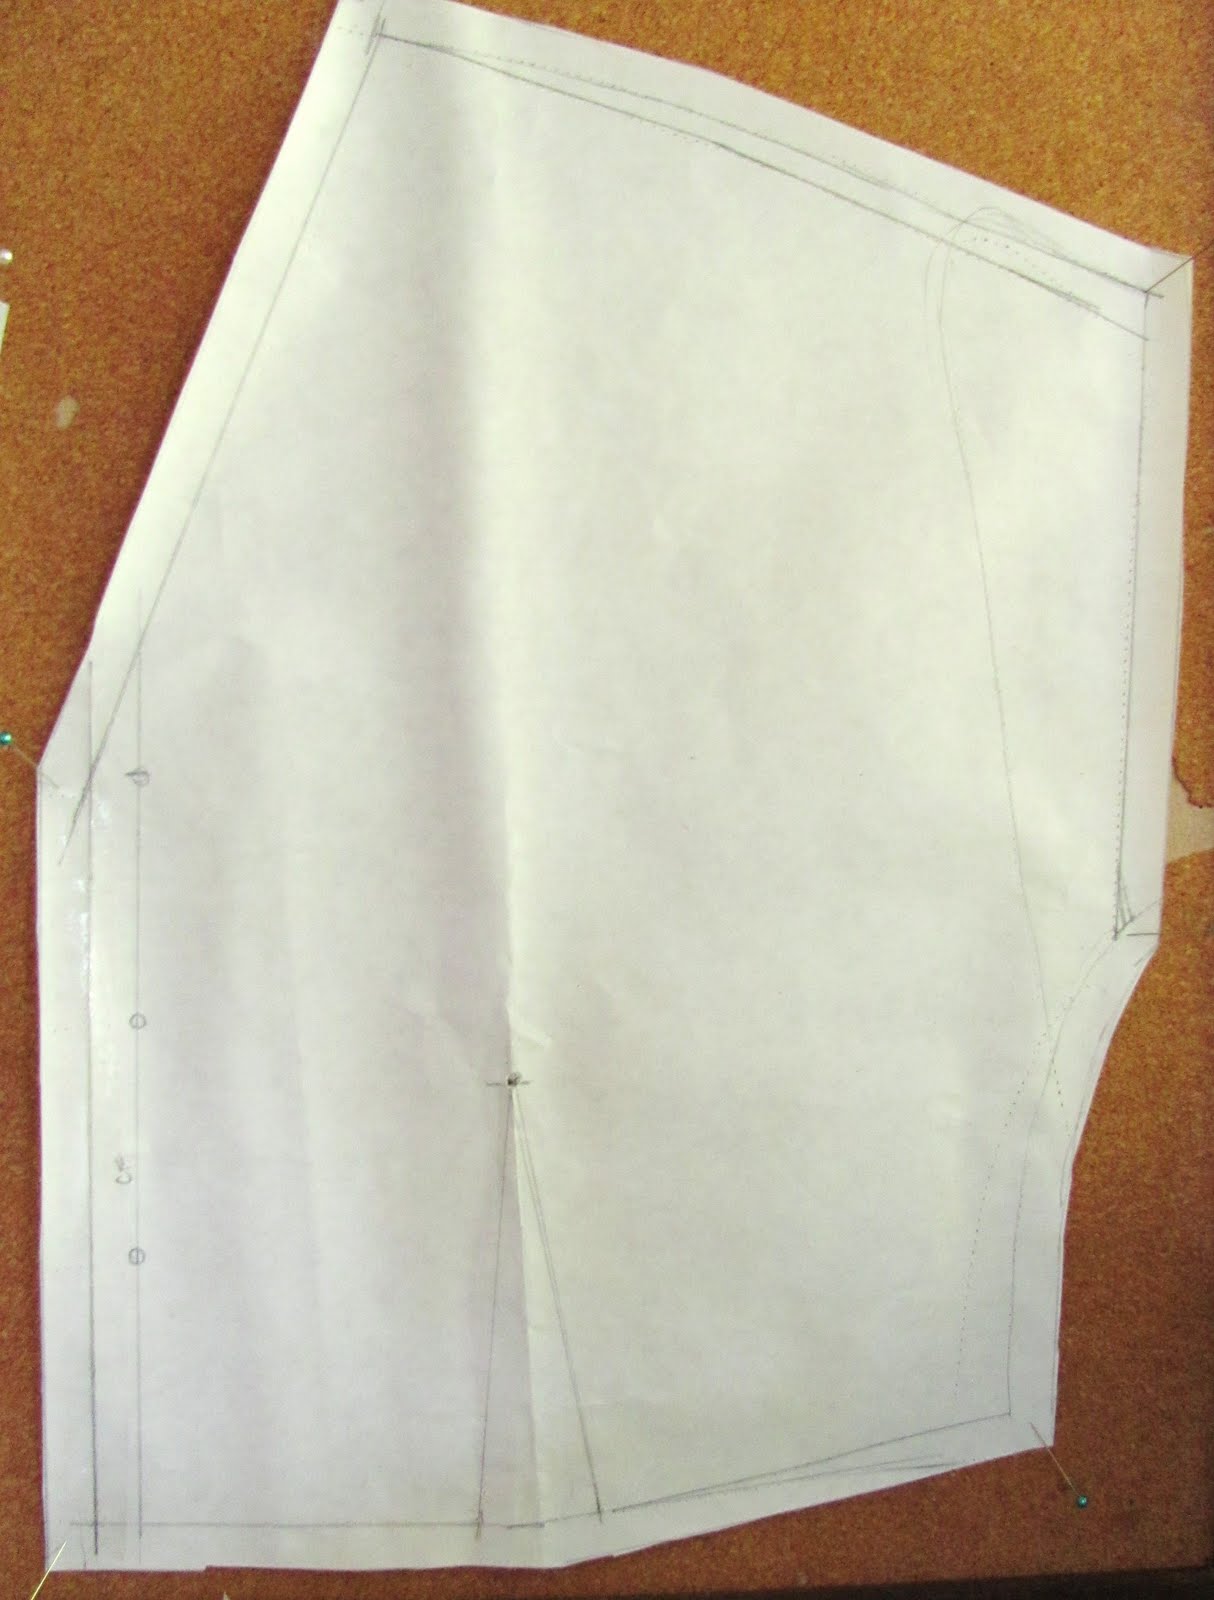
When you remove the garment, this is what the back view should resemble. Reinforce the pattern wheel punched lines with a pencil and ruler. The CB line can be folded, so that your draft has both sides.

This is the front pattern that was drafted in the same way.
 Button front:
 Where is center line if there are buttons? This line usually runs down the center of the button line (or the dot where each button is sewn in place). You can make a pin 'punch' where each button is centered.
NOTE: I worked the front pattern from the good side of the garment. You can see that the fabric pattern and details are facing out. I did this to make the buttons, collar and cuff easier to see.
When using this method, I did not pre-draft the CF line because it is
under my dress front and I can't see it. I drafted the CF line after removing the dress from the paper. I had a row of pin punches to denote that CF line, so it was easy to find.
 Front Neckline:
 This is pinned, then traced down that line. You can add pin 'punch' marks at each end to note the exact length.
 Collars and Cuffs:
 How can I draft these shapes? These are the easiest pieces to work with. Just flatten each onto the paper, and pin flat and smooth. You can trace the outside edges with a pencil, and use the pattern wheel to outline the seam where it is sewn into the dress.
 NOTE:
NOTE: As you draft, remember that these are seam lines, and you will need to add your seam allowances to this pattern. Generally these are 1/2" in the fashion industry, and 5/8" for home sewing patterns.
NOTE:
A seasoned patternmaker once told me "There's more than one way to skin a cat".
Meaning: This is only one method to produce similar results. As you work and gain experience, you may develop different techniques. Or perhaps you will be taught a different method by someone else. Regardless, as long as the technique produces the desired results, any way is OK.
Going Further:
Fit Sample:
Cut a fitting sample from the same type of fabric as your vintage dress. My dress is simple cotton, so any cotton or plain muslin will work in this case. I will add side seam allowance to make a 1" seam allowance at each side. I recommend this in case you need more room during the fitting.
Draw the seam lines from your pattern onto the muslin in a red sharpie or marker, and it will be easy to follow. With the fitting, use a 2nd color marker to show new alterations. Transfer those new seamlines into a 2nd pattern. If you don't need to make many changes, this 2nd pattern should be ready to use with your fashion fabric.
SEWING the DRESS:
The following vintage sewing posts may help you to sew your dress:
How to sew Flat Lining
How to sew a Fitted Bust Dart